Sound Design like Charlotte De Witte
Slanj Va!
You’ve just found your whisky fuelled music production life coach!
In this FREE rewatch of our Music Maker’s Social Club, we have a case study on top techno producer, Charlotte De Witte.
We focus on sound design techniques she uses, and play around with synths, samplers, and found sounds - as well as learning about her inspirations & history.
If you enjoy this, consider joining our Music Maker’s Social Club for monthly online sessions like this.
Bored of Presets? Struggle With Sound Design?
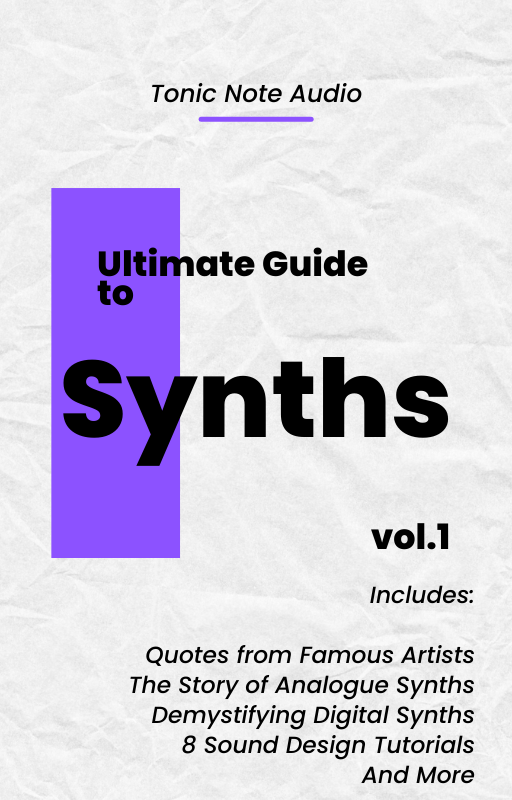
Then Register below, to get your FREE GIFT - my “Ultimate Guide to Synths” eBook!
Find out more about our Music Maker’s Social Club
Remember to sign up for your free eBook below!

The ONLY thing your music NEEDS right now is YOU
Slanj Va!
You’ve just found your whisky fuelled music production life coach!
I am pleased to share this one, as it features well-known synth wave producer Memorex Memories! He shares a story how he made his most famous track - and it was NOT with a huge studio of gear and plug ins!
Tune in to hear that story, and why it proves YOU DON’T need more plug ins or synths at the moment,
and find out WHAT TO DO INSTEAD!
Bored of Presets? Struggle With Sound Design?
Then Register below, to get your FREE GIFT - my “Ultimate Guide to Synths” eBook!
Want to learn music production in a more in depth way?

Remember to sign up for your free eBook below!
6 Music Producers You Will Meet
Slanj Va!
You’ve just found your whisky fuelled music production life coach!
In this week’s post, you can check out a video I made, showing you Six Types of Music Producer You Will Meet! Which one are you? Let me know in the comments!
Bored of Presets? Struggle With Sound Design?
Then Register below, to get your FREE GIFT - my “Ultimate Guide to Synths” eBook!
Want to learn music production in a more in depth way?

Remember to sign up for your free eBook below!
Using Max for Live Visualisers
Slanj Va!
You’ve just found your whisky fuelled music production life coach!
In this week’s post, you can check out the recent video I made, using max for live visualisers. A lot of people get worried when it comes to Max for Live, imagining complex programming and uber-nerdy technical terms.
If you want to make devices, it can be like that, but if you just want to use them, I am glad to report they are as easy as using any other plug in
Bored of Presets?
Then Register below, to get your FREE GIFT - my “Ultimate Guide to Synths” eBook!
Want to learn music production in a more in depth way?
The free visualisers I suggest checking out are:
Surface Visualiser - https://maxforlive.com/library/device/7524/surface-visualizer#:~:text=Surface%20Visualizer%20is%20a%20Max,and%20save%20your%20own%20presets.
NTHN Visualizer 2.0 - https://maxforlive.com/library/device/8088/nthn-visualizer
Points Cloud 1.0 - https://maxforlive.com/library/device/7526/points-cloud
Video Scratcher - https://maxforlive.com/library/device/8408/video-scratcher
Iris Ipsum Fractal Dream - https://maxforlive.com/library/device/8327/iris-ipsum-fractal-dream
Browse more of the visualisers here:
https://maxforlive.com/library/index.php?tag=video
To install a Max for Live Device,
download the Max for Live device,
open Ableton,
and then open the Max for Live Device once Ableton is open
To Export
Most of these I tried won’t bounce or export as a video, so the solution is to use a screen recorder app (eg OBS or your built in screen recorder) to record the results, then trim the start and end of the video using a basic video editor.
Blame It On The Bucky Compilation - Behind the Scenes
In this long read, we get behind the scenes from 7 music producers on how they made their tracks for our most recent compilation of synth music.
In it, they talk about
How they were inspired to make the track
What tricks they used in the production of it
An insight into how they mixed and mastered their track
There will be a 2nd part to this blog in the future where we hear from the other 7 artists involved!

Papa Sob
CANDLES, MOODY LIGHTING, RESIDENT EVIL
I started working on the track after seeing Lo Rays perform live in Glasgow. I loved their wacky vibe and knew we had to make a track together. When I started writing the track all I knew was that we want it to sound ethereal and mysterious. Big drums, groovy basslines and lots of reverb, which was a mix of Depeche Mode and Perturbator. Once the track was written I sent it to Laura (the singer) and let her take full control of the lyrics. She felt the track and knew where to take it right away.
I made pretty much the whole track in one night excluding the lyrics. I just sat high with candles, moody lighting and watched Resident Evil on my other monitor and somehow the whole song was written, which is funny because you wouldn't think there is any RE inspo in the track as its all about portals, the edge, magic stuff and defeating (or rather taking down) this ominous evil, which sort of fits I suppose. When Laura asked how she should do the vocals I just told her to do whatever she wanted, whether that was screaming, whispering or anything else as long as it sounds "wacky and weird".
This was the first time I actually outsourced a track and it was to my friend Joe Bispham who's a great mix and mastering engineer. I didn't even send him a reference track because what we had made was so different and out there. It was like a mixture of synthwave / pop and I just gave him general tips on where I want each instrument. Laura recorded all the vocals at home since neither of us had time to travel EDI / GLASGOW.

Clementine Blue
The idea of water and space material flowing in and out of the earth
This track was part of an original soundtrack created for local artist Melanie King, for her exhibition 'Wavelength'.
This recording is inspired by the idea of water and space material flowing in and out of the earth. The track uses samples of star pulsars, radio waves from the earth and bubbling water going through midi information.
I think there is more freedom about mixing ambient material, so I followed my intuition and mixed / mastered the track myself.

BlackAD
THE WORLD IS GONNA END SO HERE'S A TUNE I MADE IN THE BATH
the world is going to end in exactly seven minutes and one second . . . in a Berlin nightclub, there's just enough time for one last tune
the song was conceived in the bath and played entirely on analog hardware synthesisers (not in the bath) and a Roland TR-707 drum machine with some reverb, delay and overdrive thrown in for good measure
It was mixed and mastered to be as loud as possible (and why not, for it is the final tune ever to be played)

Ty Lumnus
A MODULAR SYSTEM 6 YEARS IN THE MAKING
This is the first track on an EP called 'Distinct Entities and Morphological Connections' released on Waxing Crescent Records Jan 2022. Inspiration for the ep is based around abstract concepts and loose thinking.
I produce music on a modular system that I've been building for the last 5-6 years. I use a Motu 828 as an interface and record into Ableton. When I jam on my system I record up to 20 channels simultaneously.
When I'm writing I start with a clean slate every time. I never attempt to replicate a sound from elsewhere or allow myself to be influenced by anything else I've heard. (I've done it in the past and it just doesn't work for me.)
The great thing about a modular system is that it makes a noise as soon as you switch it on. Its down to you to sculpt how is sounds. I usually start with setting a bpm and then set the key I want to work with. I use and 8-channel sequencer for my melodic synths and three different sequencers for my percussion synths.
On the melodic sequencer I start to punch in patterns visually - that helps set variation across the channels. Then I adjust pitch on each note followed by adjusting the envelopes on each channel. Once I've done that I have a listen to hear what it sounds like. By that stage I'm decent way towards having a tune. It's tweaking from that point on. My percussive sequencers generate reproducable rhythms that I use as start points. An iterative process of tweaking melody to suit rhythm and vice versa then rolls through.
Because of how I work I it's critical to have a really good mix from the outset. At the point when I'm recording the session, the mix is pretty much sorted. 9 times out of 10 the recordings I make when jamming are pretty much what gets released. Start to finish most tracks take 2-3hrs at most. Each week I release a new track via my YouTube channel (TyLumnus).
I don't tend to master those. However when releasing via a label I always get tracks mastered by someone other than me. That different perspective on your sound, in particular in a different environment (both room acoustics and monitors) is always an important part of the process. Every bit as important is the conversation you have with the mastering engineer and the points of reference you give them.

The Amusements
You have a pocket full of coins and an hour or two to spend playing the coolest games with the coolest graphics and the coolest sounds
Double Dragon is inspired by the thrill and rush of video game arcades. You have a pocket full of coins and an hour or two to spend playing the coolest games with the coolest graphics and the coolest sounds. Double Dragon was a quintessential title of the era and one of many violent and bloody beat em ups that I adored.
The musical inspiration came from experimenting with FM synthesis.
Once I had the main synth line down, I knew that an FM synth naturally gives an 80s flavour. To give it a modern touch, I used a harmonic drone generator to give a texture and an 808 kit for some punch in the drums, at the same time as fitting with the retro feel. I also used a lot of voices from the Ableton Voice Box Pack which allows for easily creating instruments and sounds out of the human voice.
Made entirely within Ableton, Double Dragon is a very simple track. An 808 core kit extended with some maracas and dirty hats make up the drums. An FM synth using Sampler provides the main riff. The harmonic drone generator gives a "sample and hold" style bed when put through a buffer shuffler. Vocal samples using the Voice Box Ableton Pack add sparkle to the upper frequencies and take the track's energy levels up a notch. Once I had the main FM Synth part down the rest was easy to write. It was about taking the energy levels to the next stage at the right point, then adding in variations to the main idea. This is where Voice Box came in handy.
Simple ingredients make for a relatively straight forward mix. I added a sub for more bottom end to compensate for tightening up the 808 kick. This track was the first one where I learned the power of the Gate. A simple device but one that is crucial in bring out the groove of a drum or synth part. There is also vocoder everywhere. But mainly the voices are made up of vocal samples and instruments from Voice Box. Even when they are heavily processed and disguised the human connection seems to come across with this track even only if on a subliminal level.
But in terms of mixing, there is very little involved. Some EQ, saturation and a bit of compression is all that was applied to the tracks. This was one track where the sounds were designed specifically for their part in the song, so the eq and compression was baked in from the start.
Mastering was less straight forward. I needed to tame the lows and boost up the high mids. I use Izotope products mainly in mastering. Maximiser is their limiter set at -2db True Peak using their IRC IV algorhythm for a more transparent type of limiting. The 808 kick was causing me problems so I needed to smooth things out. I've not used an 808 kick since. I also used a vintage tape emulation and Ableton Saturator to reduce the dynamic range and get things smoothed out even more. A bit of stereo width in the upper frequencies was also added at Mastering. Maybe I should paid more attention at the mix stage. I wrote this track in June and finished it two months later. But I only finished mastering it and decided to release it in November. I can write really quickly, but the mix and master stage will take months because I need to let the initial excitement for a track fade away before I can analyse it objectively.

Dusty Hayes
VHS AND 90’S VIBES
I was originally playing around with these big swirly pads sounds and didn't know where to go and had some chords worked out, but as soon as I put the chords to the Korg M1 piano I instantly changed tact and made this into a 90's throwback housey number, which is quite different to what I normally go for. Heavy influences on this track are definitely some of dance outfits from the early 90s like 808 State along with more recent influences like Lone.
I was trying to go for a much more 90s vibe, so I used 3 instances of Europa to recreate the lately bass preset sound, mostly 909 drum samples, and a lot of Korg M1 presets, by limiting these as the sound sources it forced me to be more creative with things like compression, saturation, reverbs and delays to make it sound more modern but keeping the essence of early 90s house.
I did struggle at points to put in a couple of extra elements, so I did decide to shamelessly rip off 808 State but firing in a loon sample. also some weird reversed vocals for good measure.
There's a secret sauce in the mix which is a return track which is just the baby audio super VHS plug in which emulates the sound of VHS as has some really nice chorus, drift and bit reduction, so a little bit of everything is going there and that sits just under most of the mix, but without it the overall track sounds empty.

KRYTICAL MASS
Scooby’s story of shark boi becomes an epic synth track!
Inspired initially by the vocal sample used; the story is of Shark Boy, a porpoise-like boy who turns into his final form when encountering a vicious school of sharks. The recording is of my friend Scooby whilst on a work trip abroad, who was labelled Shark Boy with his reflective sunglasses, which made him look pretty "shark"-like to his colleagues. Scooby then fills us in on the character's backstory in his idiosyncratic storytelling style.
Starting out with a percussive loop in Ableton. I used a filter on the initial beat under the vocal sample and built on from there. I used some cool sample packs from a synth advent calendar suggested by Dave last year to add extra risers and drops and further water drop samples do give it that oceanic vibe.
I leaned quite heavily into the reverb on the vocal, whilst keeping other elements crisper. The kick drum is important as the underpinning driving force, which used two and three layers, each with compression, EQ and saturation to achieve the desired sound. As well as filtering the intro music, I also worked with automated filtering on the bass line in one of the bridge sections, allowing the music to dip into a lull before another loud riffy section!
The track was then expertly mastered by James Maitland giving it that big bright and bassy sound.
THOUSANDS of Ableton Projects? ... IT'S OK

Slanj Va!
Hello and welcome!
You’ve just found your whisky fuelled music production life coach
We are going to look at why IT IS OK to have thousands of Ableton Projects… most of which you’ll never finish.
I think it’s really important to address this because most producers have this situation and feel super guilty about it.
The weight of these unfinished projects can really weigh down on you and sap your motivation.
But, there is a way to look at it differently and see these unfinished projects as a positive thing .
You’ll begin to see these unfinished projects as an asset and not a burden!
More below…

Before we start, I just wanted to offer you a free gift!
Struggle with Sound Design?
Bored of Presets?
Then you need:
Your “Ultimate Guide to Synths” eBook.
It’s 27 pages full of:
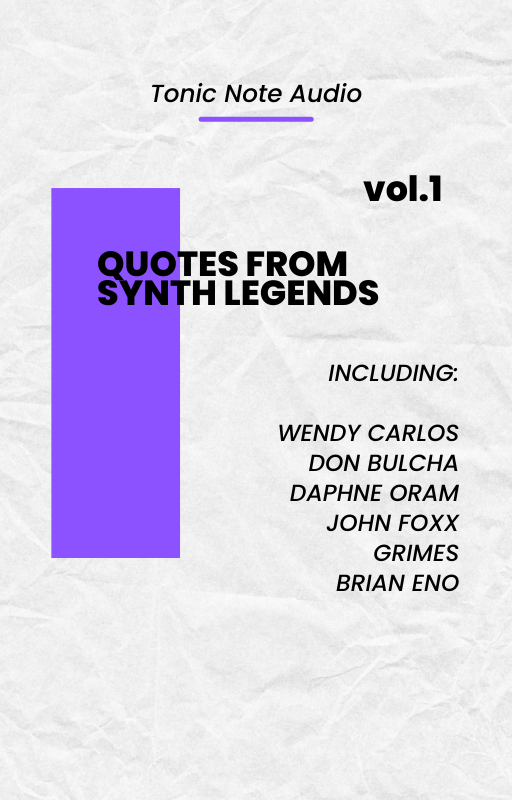
Quotes from famous synth artists & inventors
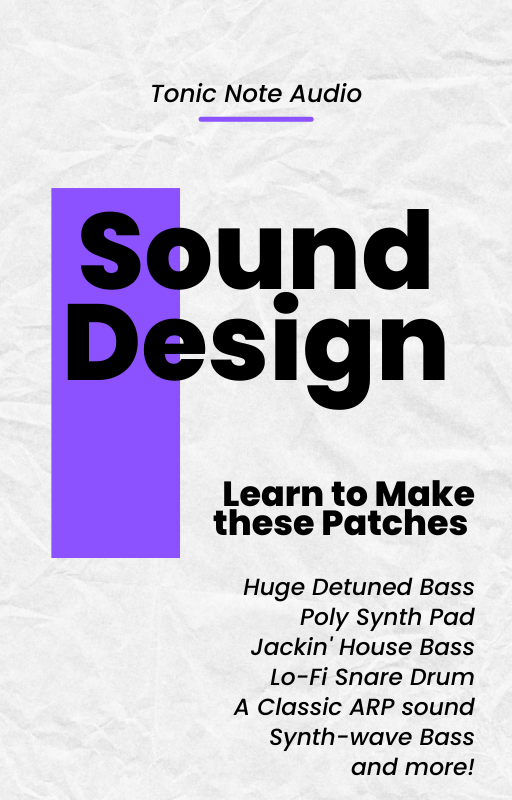
Sound design tutorials you can follow along with
The basic elements that make up all synths that you need to know about
Click here to download!

Check out your chance to join one of our music production courses below

Want to Learn More?
Prefer to listen?
Listen to the content as a podcast here
Remember, you can still sign up for your free ULTIMATE GUIDE TO SYNTHS!
Struggle with Sound Design?
Bored of Presets?
Sign up below for my FREE Ultimate Guide to Synths eBook then!
Find The Time for Music Production

Slanj Va!
Hello and welcome!
You’ve just found your whisky fuelled music production life coach
In this week’s video we are going to find out ways to make more time for music production!
More below…

Before we start, I just wanted to offer you a free gift!
A free video lesson on arranging and mixing!
Click here to access this amazing tutorial!

We are going to look at 3 strategies to help you find more time…
Time Saving Hacks
Finding Motivation
Training yourself into good habits
Check out my from “NO” to “PRO”
mixing course
Take your mixes from a drab, unprofessional sound to a places that wows your fans and friends.

Prefer to listen?
Listen to the content as a podcast here

Looking for monthly inspiration and motivation? Check out our Music Maker’s Social Club
Remember, you can still sign up for my free mixing and arranging video tutorial!
This is where I take you through one of my most recent releases, and explain how I arranged and mixed it.
Struggle with Sound Design?
Bored of Presets?
Sign up below for my FREE Ultimate Guide to Synths eBook then!
3 HARDEST CHALLENGES in Mixing

Slanj Va!
Hello and welcome!
You’ve just found your whisky fuelled music production life coach
In today’s guide, we are going to look at the Hardest Challenges producers face when it comes to mixing their track.
This is important because crafting an awesome mix is one of the main things that will help your track be the best it can be.
So today, we will look at what I think are the top 3 challenges producers face when it comes to mixing - in around a 4 minute read. Enjoy!
Before we start, I just wanted to offer you a free gift!
A free video lesson on arranging and mixing!
Click here to access this amazing tutorial!

1 - Getting completely LOST in the mix
Getting completely LOST in the mix
We’ve all been there, your track is arranged and sounding pretty good. Maybe you’ve done a wee bit of a mix.
But now you’ve just spent the last 4 hours tweaking it and… it sounds WORSE! AH! WTF?!
Don’t beat yourself up, this is common and can still happen to even the most experienced of producers.
One strategy to deal with this, is to have a vision for what you want your mix to sound like before you even touch a fader.
Some producers do this completely in their own imagination, thinking about the sound they want, imagining it, and maybe then working to that goal in their mind.
Others will use reference tracks for the very start to aim to get their sound a bit like their favourite artist.
I don’t like using reference tracks in the creation stage of music production, because I feel like I’ll accidentally start copying the music, riffs, or melodies.
However, using a reference track at the start - and during - your mixing process can be very useful to aim for the professional sound you want to achieve.
How can you hit the target without even having a target to hit?
Try this out to avoid endless tweaking.
Check out my from “NO” to “PRO”
mixing course
Take your mixes from a drab, unprofessional sound to a places that wows your fans and friends.

2 - Developing Your Ear
The best mixing engineers have been doing it for a very long time, and developed their ears and brains to hear sound in a different way to the passive listener.
This is not some talent they are born with however; it can be learned!
And how do you learn it? By finishing more mixes!
The truth is you’re going to have to produce quite a lot of tracks with mixes that aren’t quite there yet so you can get to where you want to be.
There are ways to speed things up along the way. Practising “active listening” is a great exercise. This is when you listen to music, and really try to concentrate on what is happening.
Ask yourself:
What instruments are playing?
How do they interconnect or overlap with another?
Can you hear how the tone changes at certain points?
Is there any automation you can hear?
Is there anything you’d do differently etc?

Looking for monthly inspiration and motivation? Check out our Music Maker’s Social Club
Is this blog right so far? Get in touch and let me know!

3 - Knowing When You’re Finished
My tutor at sound engineer college once said to us
“If you spend more than 20 mins EQing a snare, it BETTER be THE BEST SNARE SOUND IN THE WORLD EVER”
And he made a good point. He knew full well it almost certainly would never be the best snare drum sound ever.
He was trying to teach us that overcooking certain elements eventually is a waste of time. You will get diminishing returns on your effort.
So how do you know when you’ve finished? It is hard to say, but if you follow some of these good practices it’ll help keep you on track and spot when you are wasting time:
Work in 1-2 hr bursts maximum. Your ears need resting otherwise they clench up and are less effective
Take breaks from a mix, for example overnight. You can spot a lot of things the next day.
Refer back to your “vision” for the mix - are you heading to that or veering off on tangents everywhere?
How close is it sounding to the reference track? Can you zone in on certain elements, compare them to the reference, and then adjust from there?
Overall, you’ll know it’s finished when you listen back to it as a bounced file, and can’t hear anything major that needs changing.
It is good to listen to it back as a bounced file because it forces you to listen to it all the way through, without tweaking anything, and really consider the major changes you could make to make it better, rather than the tiny things that are actually fine.
CONCLUSION
Thanks for reading!
Overall I think if you apply these three tricks, you’re mixes will improve a lot!
Have a vision for your mix
Develop your listening skills
Learn to know when a mix is done
Remember, you can still sign up for my free mixing and arranging video tutorial!
This is where I take you through one of my most recent releases, and explain how I arranged and mixed it.
Struggle with Sound Design?
Bored of Presets?
Sign up below for my FREE Ultimate Guide to Synths eBook then!
What Season are you in as a Music Producer?

Slanj Va!
Hello and welcome!
You’ve just found your whisky fuelled music production life coach
In this week’s video we are going to find out what season of music production you are in right now!
This is important because the overall journey to finishing and promoting a track can be overwhelming, so it helps to break it down into “seasons”
More below…

Before we start, I just wanted to offer you a free gift!
A free video lesson on arranging and mixing!
Click here to access this amazing tutorial!

Music production is complicated, involves a lot of moving parts and also many stages. So knowing the main four seasons will help you feel comfortable as you create!
I used to beat myself up sometimes, like “UH DUDE I’M GIGGING SO MUCH RIGHT NOW I NEVER MAKE ANY NEW TRACKS.”
And then ironically I’d also be like “UH MAAAN FUCK ALL I AM DOING IS MAKING WEE LOOPS AND I HARDLY EVER GIG NOW”
Now I realise I was just in different seasons and the seasons can sometimes even last 12 months or more and that’s OK!
And just like some people love a certain season, like Autumn - (you know… the scarf people on instagram)
there might be a music production season you prefer too, and that’s OK
Check out my from “NO” to “PRO”
mixing course
Take your mixes from a drab, unprofessional sound to a places that wows your fans and friends.
So, coming up in the video we will look at the four seasons in detail,
and what is cool is this is an age old, proven cycle that most music makers have went through since the dawn of recorded music -
going back to the Jazz Age and even further!!!
Prefer to listen?
Listen to the content as a podcast here
Looking for monthly inspiration and motivation? Check out our Music Maker’s Social Club
Remember, you can still sign up for my free mixing and arranging video tutorial!
This is where I take you through one of my most recent releases, and explain how I arranged and mixed it.